Mastering Christmas Decor 3d Layered Papercut: A Guide to Precision and Quality
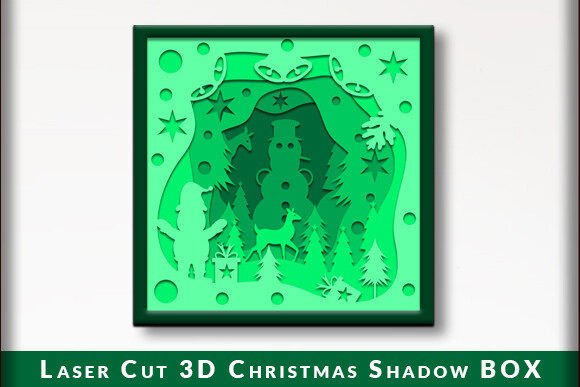
The holiday season brings a unique desire for warmth, nostalgia, and visual storytelling in our homes. Christmas Decor 3d Layered Papercut has emerged as a premier method for achieving this aesthetic, transforming flat sheets of cardstock into intricate, shadow-box style art pieces. Whether you are a seasoned crafter or a beginner exploring digital design, understanding the nuances of these files is crucial. The difference between a professional-looking display and a frustrating crafting session often lies in the details of file preparation, material selection, and machine compatibility.
Many enthusiasts dive into this hobby with excitement but overlook critical technical requirements. This guide addresses common pitfalls and provides actionable advice to ensure your projects—whether they are wall decorations, greeting cards, or gifts—are executed flawlessly. By focusing on precision and preparation, you can elevate your crafting experience and produce results that truly shine.
Understanding the Complexity of 3D Layering
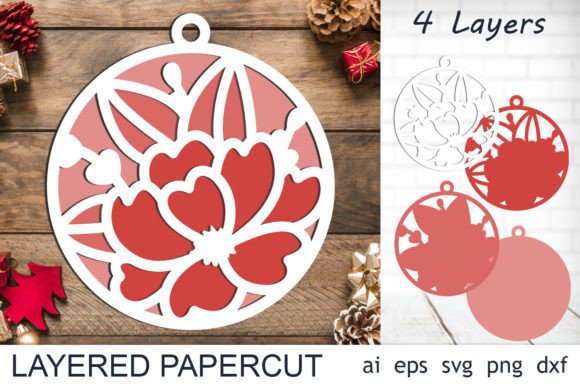
At its core, a Christmas 3d decor svg is not just a single image; it is a collection of separate layers designed to stack upon one another. Each layer represents a different depth plane, creating the illusion of three-dimensionality through shadows and spacing. For beginners, the most common mistake is underestimating the precision required for alignment. If one layer is slightly off-center, the entire visual effect collapses, resulting in a messy rather than magical appearance.
To avoid this, always test-fit your layers before applying any adhesive. Use registration marks if your design includes them, or create your own temporary guides using low-tack tape. This simple step saves hours of frustration and ensures that the final product looks polished. Remember, the beauty of layered papercut art relies on the clean visibility of each tier. Rushing the assembly process is the quickest way to compromise the integrity of the design.
File Formats and Machine Compatibility
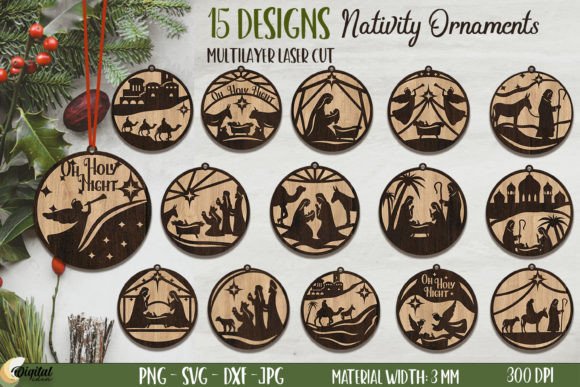
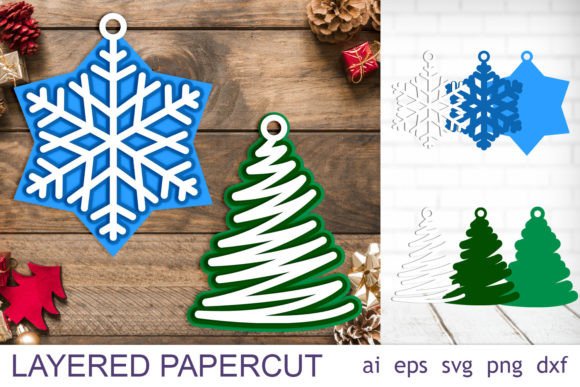
One of the most significant oversights buyers make involves file formats. You may purchase a beautiful design only to discover it does not open correctly in your software. High-quality packages typically include a Zip file containing AI, EPS, SVG, DXF, and PNG files. However, not all cutting machines accept all formats. For instance, Cricut and Silhouette users primarily rely on SVG files, while Brother ScanNCut users might prefer specific proprietary formats or standard SVGs depending on the model. CNC laser and Glowforge users often require DXF or AI files for optimal vector processing.
Always verify your software and machine capabilities prior to purchase. Assuming that an SVG file will work universally can lead to wasted money and time. Additionally, ensure that your vector software can handle editable paths. All vector files in a reputable package should be editable, allowing you to change colors and sizes directly within your cutting software. If you cannot edit the nodes or adjust the scale without pixelation, you are likely working with a rasterized image disguised as a vector, which is unsuitable for precise cutting.
Material Selection: Beyond Standard Cardstock
Another frequent error is using inappropriate paper weights. While standard 65lb cardstock is affordable, it often lacks the rigidity needed for larger Christmas Decor 3d Layered Papercut projects. Thin paper tends to warp when glue is applied, ruining the flat, clean lines essential for the 3D effect. Conversely, overly thick board may jam smaller desktop cutting machines.
For best results, use 80lb to 100lb cardstock for the base layers and slightly lighter weights for intricate top layers if your machine struggles with detail. Acid-free paper is also recommended if you intend to keep the decoration for multiple years, preventing yellowing and degradation. When creating gifts or cards, consider textured papers to add tactile interest, but test cut a small section first to ensure the blade can handle the surface texture without tearing.
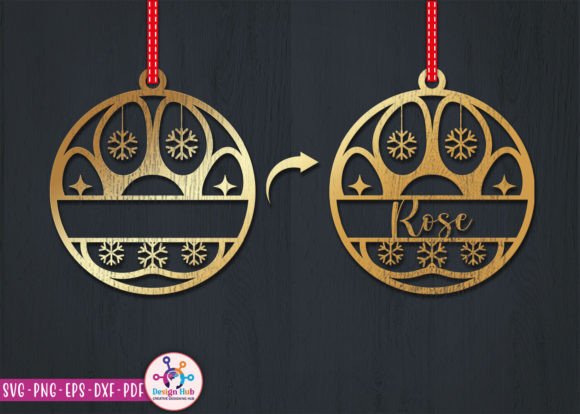
Design Customization and Color Theory
Because all vector files are editable, you have the freedom to customize colors to match your home decor or brand identity. A common misconception is that traditional red and green are the only options for Christmas themes. Modern interiors often favor muted tones, metallics, or monochromatic schemes. By adjusting the colors in your software, you can create a sophisticated piece that complements a minimalist living room or a corporate office setting.
However, be cautious when changing colors across multiple layers. Ensure there is sufficient contrast between adjacent layers so that the depth remains visible. If two neighboring layers are too similar in shade, the 3D effect will disappear, flattening the image visually. Use your software’s preview mode to simulate how the layers will look when stacked, adjusting hues until the depth is clearly defined.
Practical Steps for Successful Cutting
To ensure efficiency and quality, follow these practical steps before starting your project:
- Inspect the Files: Open each SVG or DXF file in your software to check for broken paths or overlapping nodes. Clean up any unnecessary points that might cause the blade to jitter.
- Test Cut: Always perform a small test cut on your chosen material. This helps you determine the ideal blade depth, pressure, and speed settings for your specific machine.
- Organize Layers: Label your layers in the software before cutting. This prevents confusion during assembly, especially when dealing with complex designs containing ten or more pieces.
- Use Sharp Blades: Dull blades tear paper rather than cutting it cleanly. Replace your blade regularly, particularly when cutting intricate details found in Christmas 3d decor svg files.
Maximizing Versatility in Your Projects
These cuttable designs are not limited to wall art. Their versatility allows for diverse applications. Consider using smaller versions for handmade greeting cards, where the layered effect adds a luxurious touch. Entrepreneurs and small business owners can incorporate these designs into product packaging or holiday marketing materials, leveraging the high-quality PNG transparent background files for digital mockups and social media content.
Educators and workshop leaders can use these files to teach principles of geometry, design, and patience. The process of assembling layered paper art is meditative and educational, making it suitable for community centers or classroom settings. By understanding the full potential of these files, you can expand your creative output beyond simple decorations.
Final Checks Before You Begin
Before you commit to cutting your final piece, take a moment to review your setup. Ensure your mat is clean and free of debris, as even small particles can shift the paper during cutting. Verify that your design is scaled correctly for your intended frame or display area. If you are using a laser cutter like a Glowforge, confirm that your power and speed settings are calibrated for the specific thickness of your material to avoid charring edges.
By approaching Christmas Decor 3d Layered Papercut with a mindset of precision and preparation, you avoid the common frustrations that plague many crafters. The result is a stunning, professional-quality piece that captures the spirit of the season. Whether you are creating a gift for a loved one or adding a festive touch to your own home, attention to detail transforms a simple digital file into a cherished physical object.
Thank you so much for your purchase and for investing time in mastering this beautiful craft. With the right tools, knowledge, and care, your holiday creations will stand out for their elegance and craftsmanship.